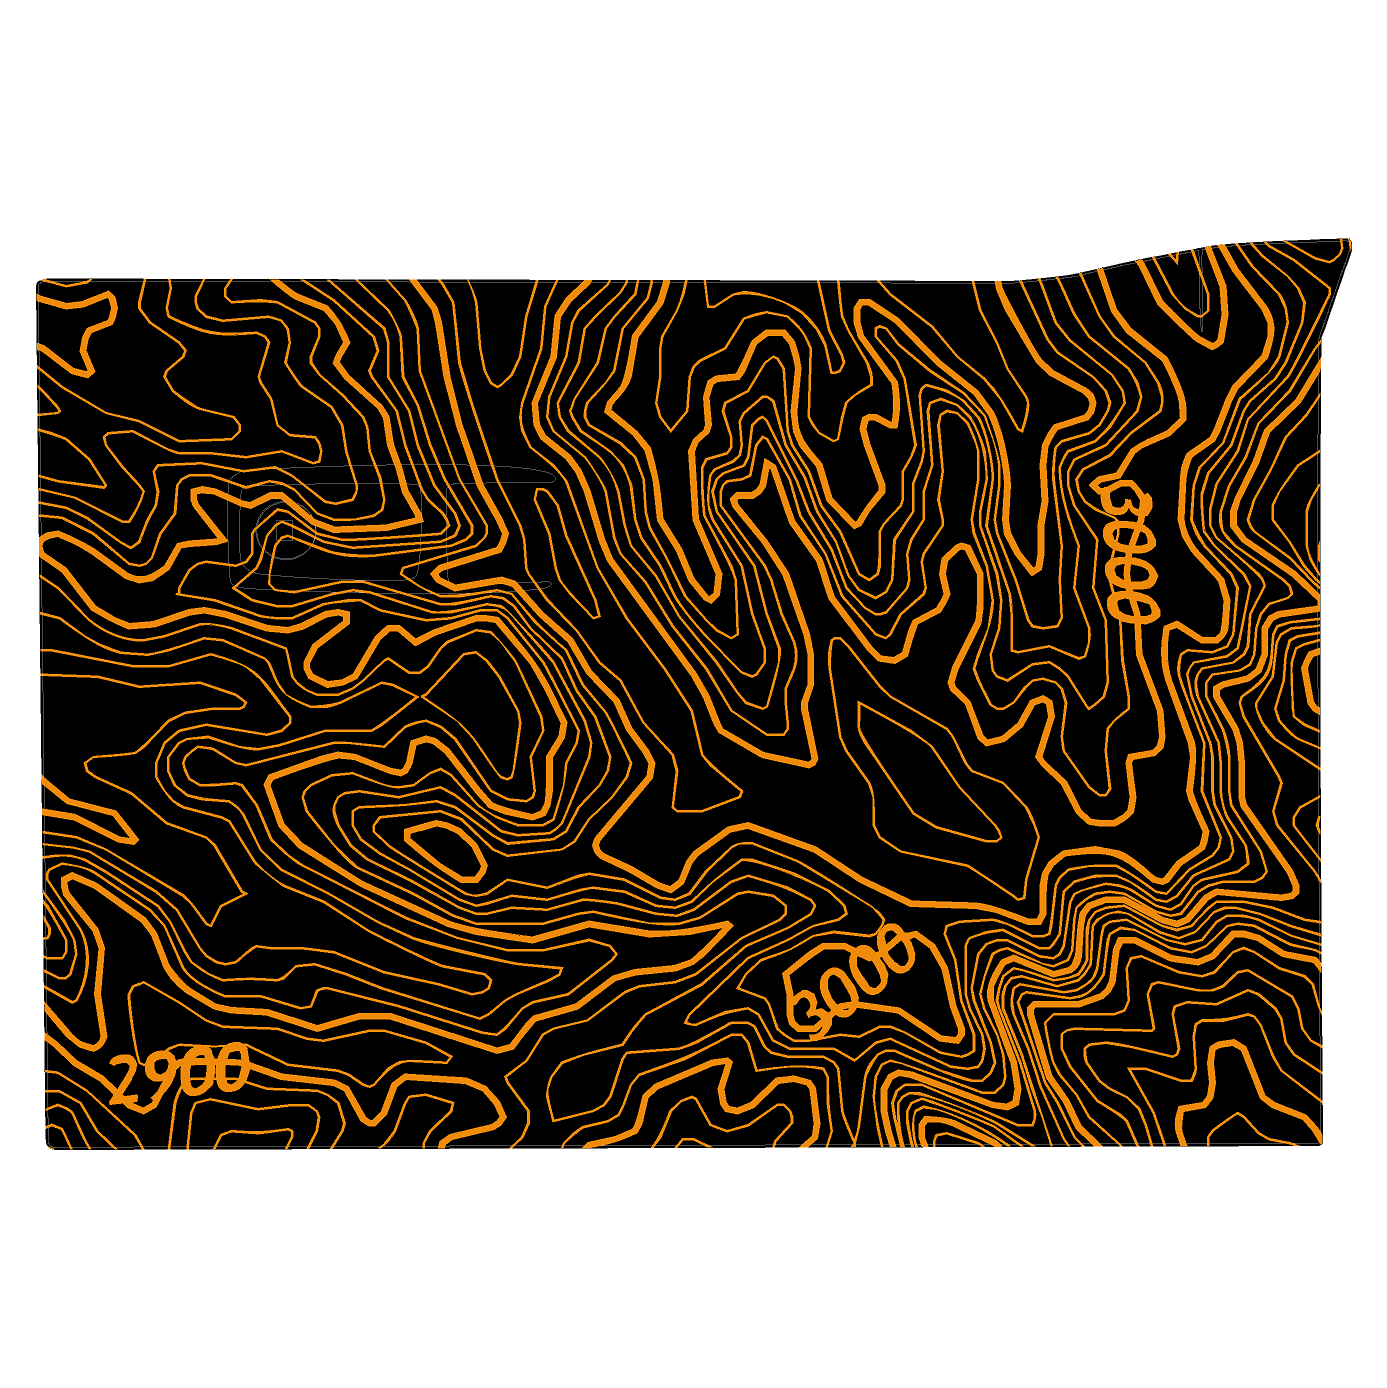
Topo Glovebox Overlay Kit (Printed Series) - 2021+ Bronco
Topo Glovebox Overlay Kit (Printed Series) - 2021+ Bronco
SKU:21BRNGLOVE-TPAMBL
Couldn't load pickup availability
- Protects the soft-plastic glovebox trim — high-tack overlay resists light abrasion and covers minor scuffs already there
- 3 topo designs, tons of colors — Generic Topo, Badlands & Bronco Knoll, now with new Ford OE colors
- Easy to apply — matte finish, precision-cut, no trimming
- Fits ALL 2021+ Broncos — printed to order in the USA
2021+ Bronco Topo Glovebox Overlay Kit (Printed Series)
Start theming your Bronco interior — the plain soft-plastic glovebox is a blank canvas you can protect and style in one step.

Protect & Theme the GloveboxWe're starting to theme the interior of our Bronco, and the plain soft plastics provide a blank canvas that you can protect and style. This overlay is easy to install and can cover up minor imperfections and discolorations on the glovebox. It's a high-tack material specially designed to grip textured soft-touch plastic — protecting the trim from light abrasion while adding a clean topo look. Fits ALL 2021+ Broncos. Matte finish. |

|

|
Designs
|
Tip: pull the glovebox for the easiest install
Removing the glovebox is simple and makes this a much easier job. Empty it, open it fully, and push the tabs in at each end. The guide arm on the right side should come out of its hole — move it to a low position where the hinge at the bottom lets it drop out. Reverse the steps to reinstall.
High-Tack Interior Vinyl — Installation
For the best adhesion and long-term results, install in a clean, dry environment at roughly 75°F (24°C) or warmer. Let both the vehicle interior and the vinyl reach room temperature before you start.
Surface PreparationProper prep is extremely important, especially on textured interior plastics.
|
Installation
Optional Heat
|
The First 72 Hours
The adhesive keeps developing its bond after installation. For about 72 hours, periodically inspect the vinyl — particularly the edges and corners. If an edge begins to lift:
- Make sure the area is clean.
- Gently warm the vinyl if needed.
- Press it firmly back into position and hold pressure briefly while it cools.
Re-pressing the edges a few times over this window makes a real difference. Avoid interior cleaners, protectants, or excess handling of the area during this bonding period, and avoid extreme temperature swings right after install.
If an Edge Moves or Shrinks
Some vinyl can settle slightly over curved or textured surfaces or with temperature changes. If an edge has pulled back, it can usually be corrected. Do not just stretch the exposed edge back while it's still stuck to the surrounding surface. Instead:
- Clean your hands and the surrounding area thoroughly — dirt or oils under the vinyl can permanently affect adhesion.
- Carefully lift enough of the vinyl to release the tension in the material.
- Apply a small amount of gentle heat to soften and relax it.
- Reposition without over-stretching, then press firmly into place — concentrating on the edge and surrounding area — and hold as it cools.
Keeping the adhesive side, the surface, and your hands clean during any adjustment is extremely important. For a stubborn spot that won't stay down, a 3M primer pen along that edge solves it.
For best results: install around 75°F or warmer, start with a completely clean surface, wash your hands before handling the vinyl, use firm pressure, and monitor the edges during the first 72 hours. A little extra attention during the initial curing period makes a big difference in long-term adhesion, especially on the Bronco's textured interior plastics.
Recommended items: this kit • microfiber cloth • interior cleaner (no wax / no protectant) • alcohol wipe • mini heat gun or hair dryer • optional 3M primer pen for trouble spots.
Level of Difficulty
Level of Difficulty
Shipping & Returns
Shipping & Returns
We ship all products from the United States, and use UPS, FedEx, USPS and local couriers.
If you are unhappy with this product, you can return it to us within 30 days for a refund or store credit.
Third Party Disclaimer
Third Party Disclaimer
This product is designed, tested, and manufactured by a third-party vendor. This includes products branded as Speedlogix for marketing purposes. While some items carry the Speedlogix name, it is not produced in-house by Speedlogix. We work closely with our manufacturing partners to ensure products meet our quality standards, but warranty coverage and product performance responsibilities remain with the original manufacturer. For warranty claims, technical support, or product-related issues, please contact our customer service team via Live Chat who will facilitate communication with the manufacturer or provide manufacturer contact information as needed. By purchasing any items branded as Speedlogix, you acknowledge that the product is manufactured by a third party and warranty obligations lie with the original manufacturer.
Share